Creating Podcast Audiograms With Captions
A couple of years ago I became familiar with the Audiogram tool created by NY Public Radio. I was enamored and immediately set it up. I created a couple and shared them, but it was a bit tedious and I could never get it to look quite the way I wanted. Some of that is due to my limitations in time dedicated to the process and some of it was due to motivation. But recently, I discovered a tool that helps automate the process and gives me the design features I want.
I should note that this is something I've been doing for about a month for Bookworm and will soon start doing for our church. I can't say that I'm done fiddling with the design of the finished products, but I do know the process and have automated it such that I'll continue making these regularly.
Last thing before we jump in: this will NOT magically increase your following online or your download numbers. When I read other articles similar to this one, I get the feeling that following the steps will create a magnet so strong that new listeners can't help but download your podcast. All your woes will fade. It simply isn't true. This is merely a tool to use from your podcast marketing toolbox. I will, however, mention that this will increase the perception of professionalism towards your show. But it will only do so for those who are already following you.
Preparing the Graphic
The tool I use to pull this off is Headliner. But I'm only using it to put the pieces together and to add the captions to the video. That's because I found the interface of adding multiple images, overlays, and text to be a bit slow and clunky. It's a great tool, but I'm much quicker at building the graphic I want in Photoshop.
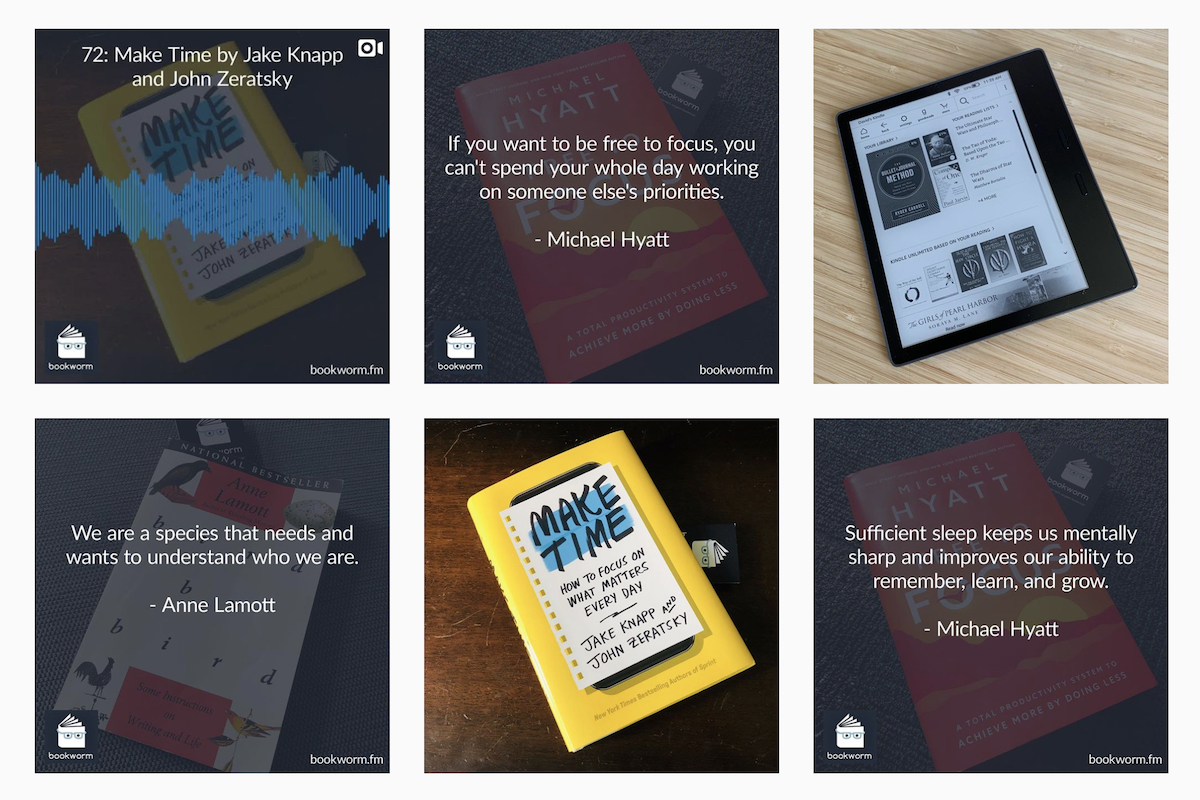
A few layers are going into the graphic. The background of these audiograms is a photo of the book. I simply set those up and take the photo with my iPhone. Then I crop it to square and bring it into Photoshop.
On top of the picture is an overlay at 80% opacity. It's a simple rectangle that matches the Bookworm color. I add this to give the audiograms a consistent look and feel but also to make it possible to read the captions.
Once the overlay is in place, I add the Bookworm logo in the bottom left and the URL in the bottom right. This gives it a more professional feel, but it also makes sure viewers know where to find us if they see these in the wild.
Add the title of the show to the top in a font that matches our website for consistent branding and we're ready to export the image for Headliner.

Side note: I use the same Photoshop template for the quote images I create. I simply turn on the text layer and edit the content of the quote before exporting.
Preparing the Audio
Yes, it's possible to do audio clipping and such later in Headliner, but it's slow and I want more control over the exact moment it starts and stops. And I don't want to spend a ton of time on this. It needs to be quick and easy or I won't do it. So I take the MP3 of the entire podcast episode, put it into Audition and trim it down to the section I want to be a part of the audiogram. Add a one-second fade at the beginning, a two-second fade at the end, and I'm ready to export the final clip to use in Headliner.

Editing in Headliner
Inside Headliner, I import the image, the audio file, and choose the settings I want for the waveforms. Headliner will create the captions and sync them up with the audio, but like all dictation services out there, it's far from 100%. So I go through each one and edit those captions to be correct.
And that's it. I export it from Headliner and I'm ready to share.

Finished Product
One final note, I create two versions of these. One is for the YouTube channel and one is for sharing on social media. The steps above create the one for social media. But Headliner has an option for a full episode video. It's all the same process, but I turn off the captions and the waveforms and use the full episode file. That way it doesn't drive you crazy with something moving on the screen. And I'm not about to take the time to manually adjust the captions on a 90-minute episode.
Example:


