Creating Personal Project Codes
Last week I wrote about managing information for projects. In that post I revealed the project codes I use, and now we’re going to talk about how to create them.
As a quick refresher, here’s what my codes look like:
14HC13
There are three portions of the code — “14”, “HC”, and “13."
Year
The first two characters are the year. In this case, 2014 becomes “14”. I plan to use these indefinitely so I need a way to distinguish them year over year. If it crosses over the new year, it gets the earlier of the two since the code is created at the start of the project.
Area of Responsibility
The middle two characters indicate the area of life that it pertains to. In the example above it’s “HC”, which is short for “House/Car." I currently have 11.
- Spiritual = “SP”
- Joe Buhlig = “ME”
- Husband = “HU”
- Father = “FA”
- Son/Brother = “SB”
- Work = “WK”
- Blog = “BL”
- Friend = “FR”
- Church = “CH”
- House/Car = “HC”
- Woodworking = “WW”
Incrementing Number
It’s a simple auto-incrementing number that resets to “01” the first time I use it in a new year. The first time it is “01." The second it’s “02,” then “03" and so on.
Creating the Codes
Creating the code is made simple with a TextExpander snippet. I can type ";phc” (project for House/Car) and it will expand to be 14HC04. If I were to type it again, it would be 14HC05. The last two digits continue to increase each time I use it. I have a separate snippet created for each of my Areas of Responsibility from above, which means that each area has it’s own incrementing number. Here are the abbreviations I use for each:
- Spiritual = “;psp”
- Joe Buhlig = “;pme”
- Husband = “;phu”
- Father = “;pfa”
- Son/Brother = “;psb”
- Work = “;pwk”
- Blog = “;pbl”
- Friend = “;pfr”
- Church = “;pch”
- House/Car = “;phc”
- Woodworking = “;pww”
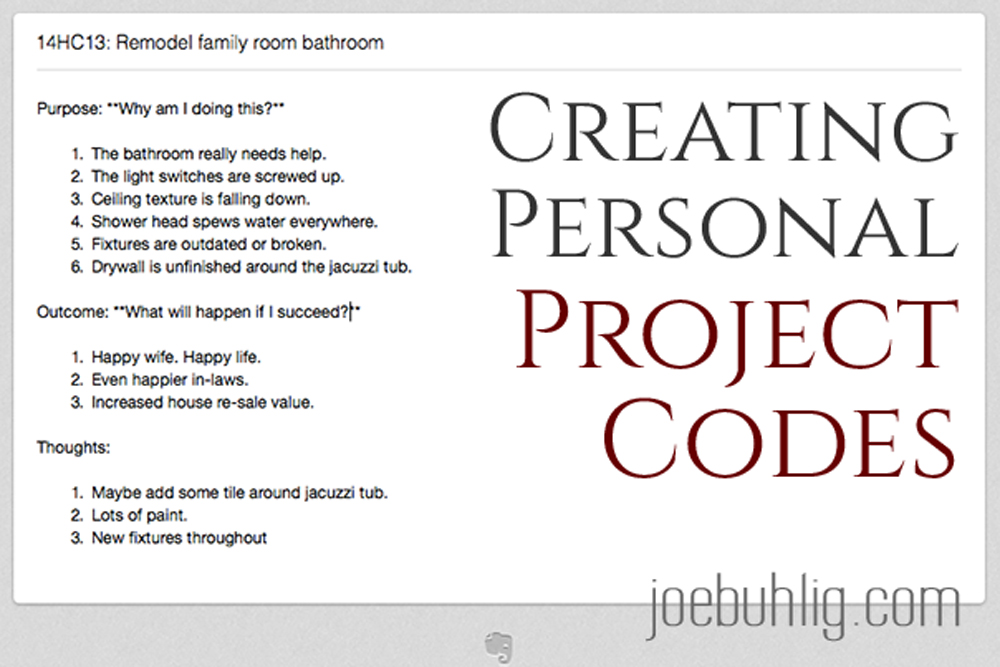
I create a note for each new project in Evernote to act as an idea collection zone. I use the TextExpander snippet to create the code as part of the note’s title. If I’m going to put the code in a filename or another note title, I grab it from this “master” note in Evernote and copy/paste where I need it.
The Setup
Here’s the tricky part. It involves two pieces to make it work — a .plist file in Dropbox and a TextExpander snippet with AppleScript.
The .plist file
As far as I know, TextExpander doesn’t have a good way to auto-increment numbers on it’s own. Not without the help of an external file of some kind. So I set up a .plist file to store the last used code. A .plist file is a Property List file that kind of resembles an XML file, but is Apple specific. Most of the applications that we use every day utilize them.
I created the initial file using Xcode and at the moment it looks like this:
I store this file in DropBox since I use multiple computers and don’t always know which one I will need to create the code.
The TextExpander AppleScript
Here’s a look at the AppleScript in the House/Car TextExpander snippet:
set thePList to "Users:JoeBuhlig:Dropbox:pList:Project_Codes.plist"
set thePListPath to POSIX path of thePList
tell application "System Events"
tell property list file thePListPath
tell contents
set pcode to value of property list item "HouseCar"
set yr to text -2 thru -1 of ("00" & (year of (current date))) as number
set y to text -6 thru -5 of pcode as number
set inc to text -2 thru -1 of pcode as number
if (yr > y) then
set inc to 1
else
set inc to inc + 1
end if
set inc to text -2 thru -1 of ("00" & inc)
set newcode to yr & "HC" & inc as string
set value of property list item "HouseCar" to newcode
end tell
end tell
end tell
return newcode
It goes to the .plist file and gets the current project code. It then parses out the last two characters and increments it by one unless we’re in a new new year. At the beginning of each year, it will reset to “01” and change the first two characters to match the new year. It then writes the code back to the .plist file for next time and pastes in the new code. It just looks more complicated than it really is :)
The main takeaway is that I enter the abbreviation for the TextExpander snippet and it runs the AppleScript. The AppleScript updates the stored code and replaces the abbreviation with the new code. I type 4 characters and I’m done!
It looks like a daunting process if you’ve never worked with .plist files or AppleScript and rightly so. The first time I saw them I thought the people who used them were crazy. And maybe we are. But it certainly makes life easier when it comes to finding project materials.


